U.S. flag

An official website of the United States government

Official websites use .gov
A .gov website belongs to an official government organization in the United States.

Secure .gov websites use HTTPS
A lock or https:// means you’ve safely connected to the .gov website. Share sensitive information only on official, secure websites.

How to take photos to verify your identity

Overview

To verify your identity online, you must both:

  • Take a photo of your valid driver’s license or state ID card, and
  • Enter your personal information

You may also need to take a photo of yourself with a phone or tablet to ensure you are the person on your ID. If you don’t have access to a phone or tablet with a camera, you can verify your identity in person.

This article covers how you can submit images to verify your identity.


How to take photos of your driver’s license or state ID card

If you are using a computer to verify your identity, you will be able to switch to a phone or tablet to take photos of your ID.

Using your phone or tablet

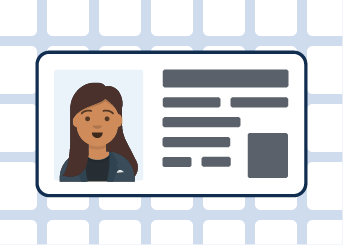
ID front is centered in the camera frame and placed on a dark background.
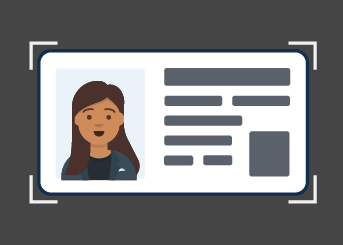
ID back is centered in the camera frame and placed on a dark background.
  • Use a high resolution camera like a smartphone or tablet camera, rather than a webcam.
  • Place your ID on a solid, dark background.

  • Take your photos in a well-lit area with indirect light.

  • Check that ID barcodes are not damaged or dirty.
  • Hold your device still while taking the photos. It may help to prop your arms on the table to steady yourself.
ID is placed on a white background.
  • Avoid white backgrounds.
ID is placed on a textured background.
  • Don't use textured, patterned backgrounds.
ID edges are cropped out.
  • Take a picture of your entire ID.
ID has a glare and shadows cast over it.
  • Avoid glare or shadows.

Uploading existing images of your ID

If you have existing photos of your driver’s license or state ID card, you may upload them instead of taking new pictures. You will not have this option if you also must add a photo of your face.

If you don’t have access to a camera, you may be able to verify your identity in person at a United States Postal Service location near you.

  • Follow the same tips for taking photos with a phone.
  • Save each file only as a JPG or PNG with a resolution of 2025 x 1275 pixels. To find your photo’s file type and resolution, look for an extension after the name of your photo, such as .jpg or .png. Or, using a computer, right-click on the file and click “Get info” (macOS) or “Properties” (Windows).
  • Upload color images only.

How to take photos of yourself

Some partner agencies may ask you to take a photo of your face and photos of your driver’s license or state ID card. This checks that you are the person on your ID.

Device requirements

  • You must use a phone or tablet with a camera to take pictures of both your face and your state ID using Login.gov’s camera tool. You cannot complete this step on a desktop device.
  • If you don’t have a phone or tablet with a camera, you may be able to verify your identity in person at a United States Postal Service location near you.

Preparing to take your photo

A person wearing sunglasses. Any face covering results in a failed photo.
  • Only wear accessories, like glasses or hats, that you also wear in your ID photo. Remove other accessories that might block your face.
A person with extra light or glare on their face, which results in a failed photo.
  • Take your photo in a well-lit place while avoiding glare.
A person with a blurry face, which results in a failed photo.
  • Remain still to avoid a blurry image.
A person with their face outside of the central green circle, which results in a failed photo.
  • Make sure your face fills the entire green oval.

Taking your photo

A person with their face in a green oval. A finger taps a checkmark under the face to confirm the photo.

The camera will automatically take your photo. Tap the green checkmark to confirm it.

  1. Line up your face with the green circle. Make sure your entire face is visible, from your chin to the top of your head.
  2. Tap the check mark to accept the photo.
  3. If the camera tool does not automatically take your photo, position your face so that it fills the green circle and tap the red circle to take a photo.

Troubleshooting

Ensure the information in your photo is clear

  • Make sure your name, address, and other information on your ID can be easily read.
  • Avoid bright light or glare that may impede the ID scan.

Consider verifying your identity in person

  • If the information on your ID is not up to date, or if you look very different from your ID photo, verifying your identity online may not work.
  • Select the option to verify your identity in person and visit a local United States Postal Service location to verify your identity.

Check your device and browser combination

Update your web browser, or clear your cache and cookies

Back to top